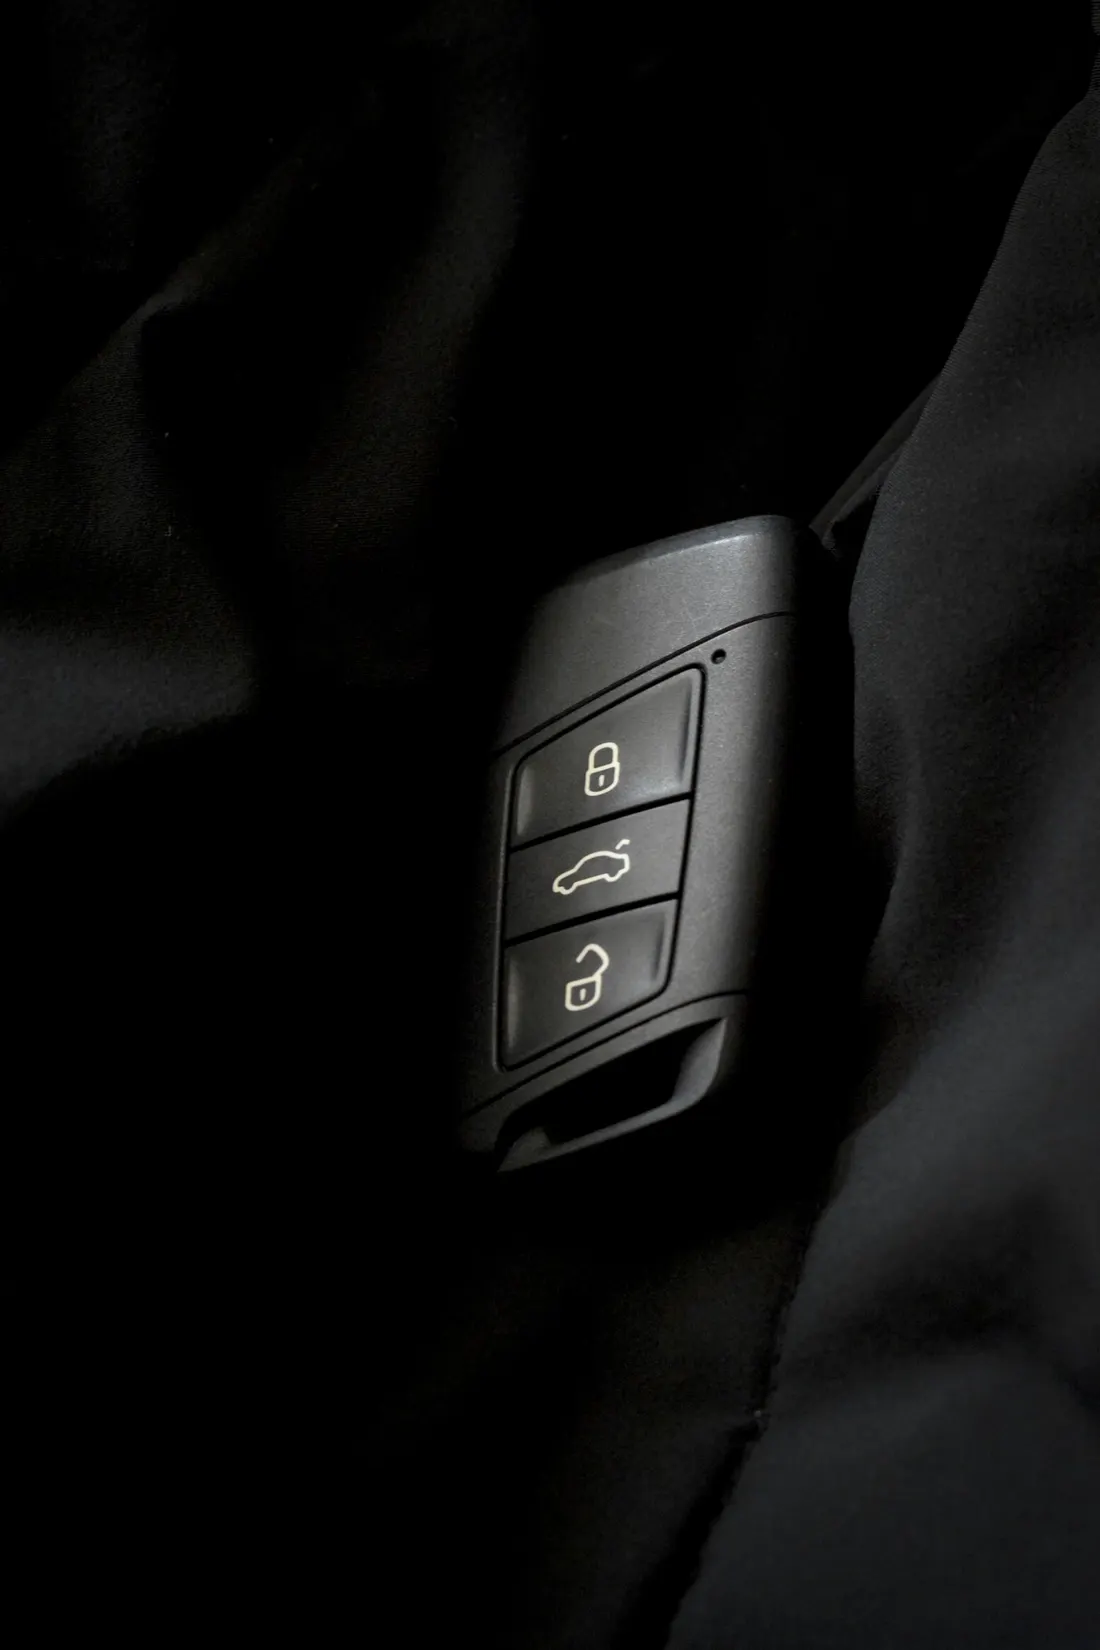
Car key fob
Sticky buttons or a cracked key-fob case
When a coin cell is fine but the rubber pad sticks or the shell is cracked: how to open the case safely, swap a shell, and decide if the board still works.
A fresh battery does not fix mushy, sticky, or dead-feeling buttons when the rubber pad or plastic shell is worn out. Many remotes can be rescued with a new case and pad while you keep the original circuit board and the chip that already talks to the car.
Signs it is the case, not the battery
- You already swapped a known-good coin cell and the range is normal when a button does register.
- One button sticks down, feels gummy, or needs a hard mash in one corner.
- The shell is cracked at the seam, the flip-key hinge, or around the key ring hole.
- Lint, pocket dust, or a washed-in laundry cycle left grit under the pad.
- A second remote for the same car works fine from the same distance.
If the remote only works when you are next to the door, start with the battery-or-dead-fob checks before you buy a shell.
Open the case without bending the board
- Photograph both sides of the closed fob and the open board. You will want those shots when the clips go back together.
- Remove any small screw. Many shells only use plastic clips.
- Use a thin plastic pry tool in the factory seam. Work around the edge; do not lever against the circuit board.
- Lift the rubber button pad straight up. Note which way the conductive dots face the board.
- Leave the board in a dry, static-safe spot. Do not bend it to “test” buttons in mid-air.
If the board shows green corrosion, swollen cells, or cracked solder at a button contact, a pretty new shell will not restore it. Plan on a programmed replacement instead.
Shell and pad swaps that usually work
Aftermarket case + pad kits are sold by button layout (lock / unlock / trunk / panic count) and by whether the metal emergency key is flip-style or separate. Match:
- Button count and order on the face.
- Whether your key blade folds or slides out.
- The board outline (compare your photo to the listing photo of the empty shell).
- Battery tray style (CR2032 vs thinner cells).
Transfer the board, the battery, and any small metal key blade into the new shell. Seat the rubber pad so every conductive pill lands on its contact. Snap the halves evenly; a half-latched case can make one button feel dead again.
You are not reprogramming the car when you move the original board into a new shell. The electronics that already pair with the vehicle stay the same. Reprogramming only enters the picture if you replace the board or buy a complete blank remote.
Sticky pad cleanup (short-term)
If the shell is intact and only one button sticks:
- Lift the pad and wipe the board contacts with a dry cotton swab. Avoid soaking the board.
- Clean the underside of the pad with a barely damp swab, then dry it fully before reassembly.
- Clear grit from the button wells in the plastic.
This buys time. A pad that is worn thin or permanently soft should be replaced with the shell kit.
When to stop and get a programmed remote
- The board flexes or has broken traces.
- Buttons still do nothing after a clean pad and a confirmed battery.
- You only have a blank aftermarket remote with its own board (that needs pairing).
- The car uses a smart key / push-button start where the fob is more than door locks.
A locksmith or dealer quote should spell out whether you are paying for a shell, a programmed remote, or a cut metal key. Those are different jobs.
Related pages
Return to the car key fob hub. Same niche: Is it the battery or a dead fob?. Other Coraco Studio topics: exact printer ink numbers and dryer vent checklist.