Printer ink and toner
Clean printhead streaks without wasting ink
Run a nozzle check first, use the lightest cleaning cycle that works, align cartridges calmly, and know when streaks mean a dry head or the wrong supply.
Horizontal gaps, faded bands, or one missing color often look like “empty ink” when the nozzles are simply clogged or the head needs a light clean. Jumping straight to a deep clean can dump a surprising amount of ink into the maintenance pad. Work from the smallest test upward.
Confirm the cartridge number first
Wrong or incompatible supplies can print with streaks, refuse to print a color, or show odd warnings. Before you run cleaning cycles, confirm the model and cartridge (or bottle) number with How to find your exact ink or toner number. A clean cycle will not fix the wrong part in the stall.
Start with a nozzle check, not a deep clean
Almost every inkjet menu has a nozzle check or test pattern under Setup, Maintenance, or Tools.
- Load plain paper.
- Print the nozzle check once.
- Read the pattern: unbroken lines for each color mean the head is fine; dotted or missing segments point to a clog or a starved color.
If the pattern looks good but a photo still looks wrong, try a different paper type setting or a higher quality mode before you burn ink on cleaning.
Climb the cleaning ladder slowly
Use the printer’s own clean options in this order:
- Normal / light clean — one pass, then another nozzle check.
- Wait a few minutes if the manual suggests it, then recheck.
- Deep / powerful clean — only after two light cleans still leave gaps in the same color.
Deep cleans pull much more ink through the head. Running three deep cleans in a row can empty a cartridge into the waste pad while the page still looks striped. Stop when the nozzle check improves; do not “one more deep clean for luck.”
For tank printers with bottles, cleaning still uses ink from the tanks. The same light-then-deep order applies.
Align without reprinting a stack of sheets
After a cartridge swap or a head clean, many printers offer printhead alignment or calibration.
- Prefer the automatic alignment if the scanner bed or a single sheet is enough.
- For manual alignment, pick the clearest numbered pattern on the first sheet the printer asks for. You rarely need to reprint the whole set.
- Close the door fully and leave the printer still while it parks the head. Moving the machine mid-align can force a redo.
Alignment fine-tunes where droplets land. It is not a substitute for a clogged nozzle pattern.
Quick physical checks that cost no ink
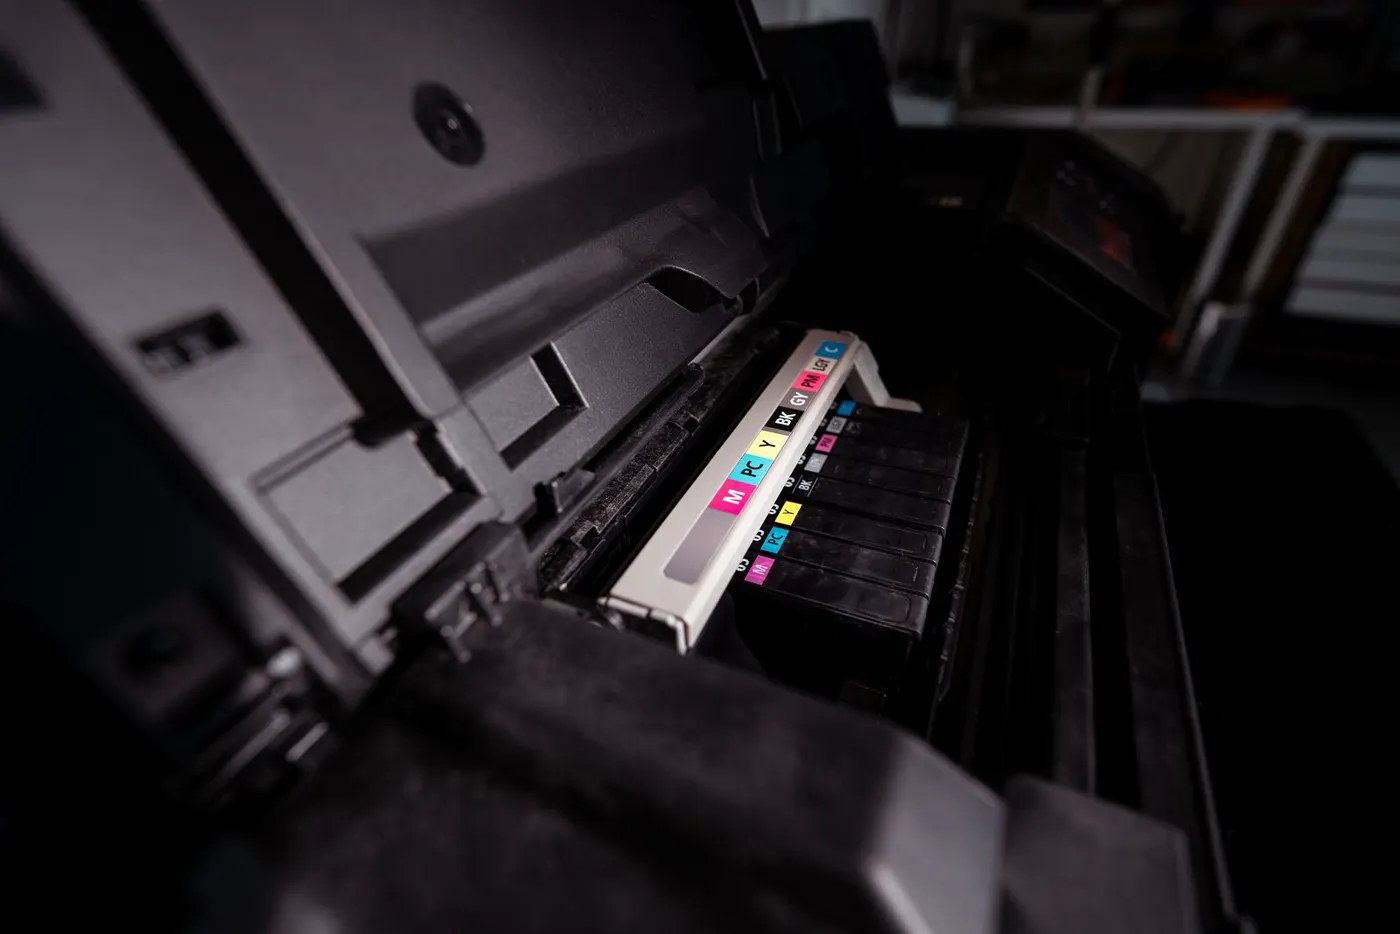
- Open the cartridge door and confirm each supply is clicked in fully (power off if your manual says so).
- Wipe the electrical contacts on the cartridge and the carriage with a dry lint-free cloth. Do not scrub the nozzles with tissue.
- For removable heads, only clean what the maker’s guide allows. Household solvents can ruin a head.
- If a color tank is near empty, refill or replace that color before another clean. Cleaning on an empty channel often makes gaps worse.
Laser printers with streaky pages are a different problem (drum, fuser, or toner distribution). Do not run inkjet clean cycles on a laser — use the laser’s own drum/toner diagnostics instead.
When streaks mean a service visit
- The same gaps remain after light cleans, a confirmed full supply, and a correct cartridge number.
- The printer reports a worn pad, full maintenance box, or head failure.
- You see ink pooling in the machine or on the underside of pages.
- The head is integrated into a disposable cartridge and a new genuine cartridge still fails the nozzle check — then the carriage or electronics may be at fault.
Coraco Studio does not sell ink and has no live store links yet. Product slots stay inactive until Associates is wired up.
Related pages
More under the printer ink hub. Same niche: How to find your exact ink or toner number. Other Coraco Studio topics: key fob battery checks and outdoor dryer vent flap.